Home audio
  Audio components
  Crossover components
  Test & measurement
  DIY kits
  Accessories
  New products
  Speakers
 Amplifiers
 DAC converters
 DSP modules
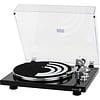 Turntables
 Streamers
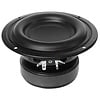 Woofers
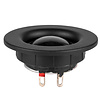 Tweeters
 Exciters
 Bass shakers
 Plate amplifiers
 Amplifier modules
 Single board computers
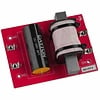 Assembled crossovers
 Printed Circuit Boards (PCB)
 Capacitors
 Resistors
 Coils
Coils Circuit Breakers
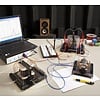 Crossover tools
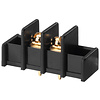 Screw terminals
 Acoustic measurements
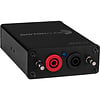 Electric measurements
 Sound level meters
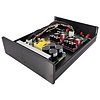 DIY amplifier kits
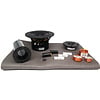 DIY component packs
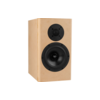 DIY speaker kit
 DIY subwoofer kits
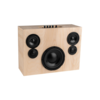 DIY bluetooth speaker
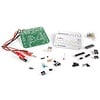 DIY electronics kits
 Binding posts
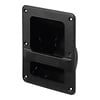 Cabinet Hardware
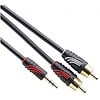 Cables
 Connectors
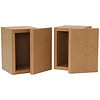 Speaker cabinets
 Electromechanics
 Power supplies
 Speaker repair
 Workshop & tools
 Amplifier accessories
 Stands & mounts
 Gift voucher
 Books
Books New products


 Speakers
 Amplifiers
 DAC converters
 DSP modules
 Turntables
 Streamers
 Woofers
 Tweeters
 Exciters
 Bass shakers
 Plate amplifiers
 Amplifier modules
 Single board computers
 Assembled crossovers
 Printed Circuit Boards (PCB)
 Capacitors
 Resistors
 Coils
Coils Circuit Breakers
 Crossover tools
 Screw terminals
 Acoustic measurements
 Electric measurements
 Sound level meters
 DIY amplifier kits
 DIY component packs
 DIY speaker kit
 DIY subwoofer kits
 DIY bluetooth speaker
 DIY electronics kits
 Binding posts
 Cabinet Hardware
 Cables
 Connectors
 Speaker cabinets
 Electromechanics
 Power supplies
 Speaker repair
 Workshop & tools
 Amplifier accessories
 Stands & mounts
 Gift voucher
 Books
Books New products
Living Room Subwoofer with Dayton Audio
The main limiting factor was the space I had available in my room since the only real option was placing the speaker on the floor next to my office table. Due to this, the maximum possible total width of the speaker ended up being about 270mm. For this reason, I decided to go with a woofer 8 inches in diameter which would be able to use the available space the best.
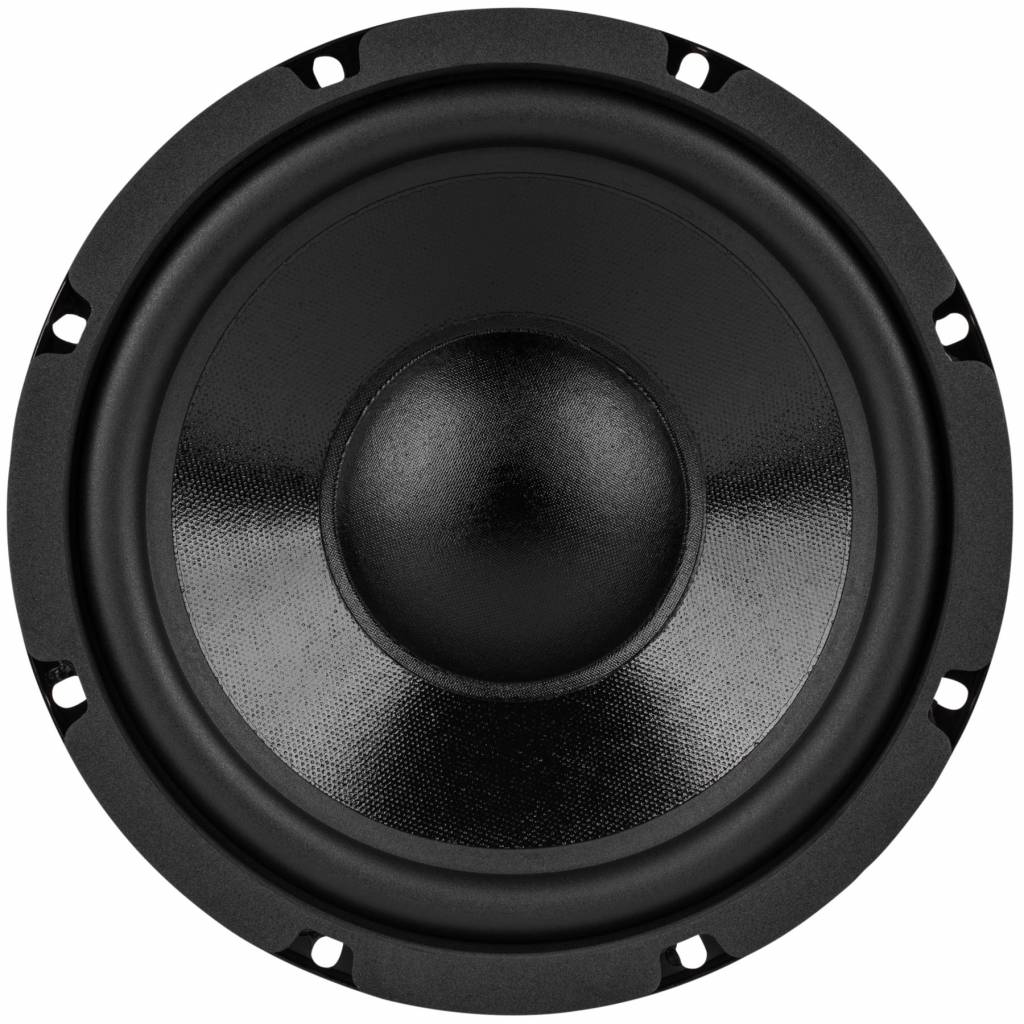
I also knew that I wanted to have a speaker driver that is manufactured by some well-known brand since I had heard what they are capable of while listening to a pair of speakers made by my brother. This is why I ended up going with a Dayton Audio DCS205 Classic Series subwoofer that is capable of taking up to 150 Watts RMS!
The design
With the help of a great iPhone app called Speaker Box Lite, I started designing an enclosure best suited for this specific speaker driver. The app has a giant database of Thiele/Small parameters of most speakers on the market. These parameters are necessary to calculate the frequency response of a speaker in different types of enclosures.
Based on the app’s calculations I ended up going with a ported box design since this would be suiting my Dayton Audio woofer best. The final outer dimensions of the main enclosure came out to be 250x250mm in width and depth and 520mm in height. This results in an effective inner volume of around 20 liters.
As far as the port goes, the calculations for it are based on the fact that I decided to use PVC pipe from the home improvement center which is only available in specific standardized sizes. The size best suited was the one with roughly 70mm inner diameter and the required length for the port came out to be 430mm, giving the enclosure a tuning frequency of roughly 35Hz.
The Build
To make the enclosure building process as easy, cost effective and sturdy as possible, I decided to build the main box out of 16mm MDF board which I got cut to the exact required dimensions at the hardware store. In order to have the subwoofer match the rest of my furniture as well as my pair of desktop speakers I opted for a white paint job on the enclosure as well as a faceplate made from acacia wood once again.
Router Circle Cutting Jig
Since I had several circles to be cut out from the MDF box as well as the faceplate and I had to have them be very accurate and matching one another, I had to start the project by making a quick assembly from plywood. This would allow me to route circles with my Makita palm router.
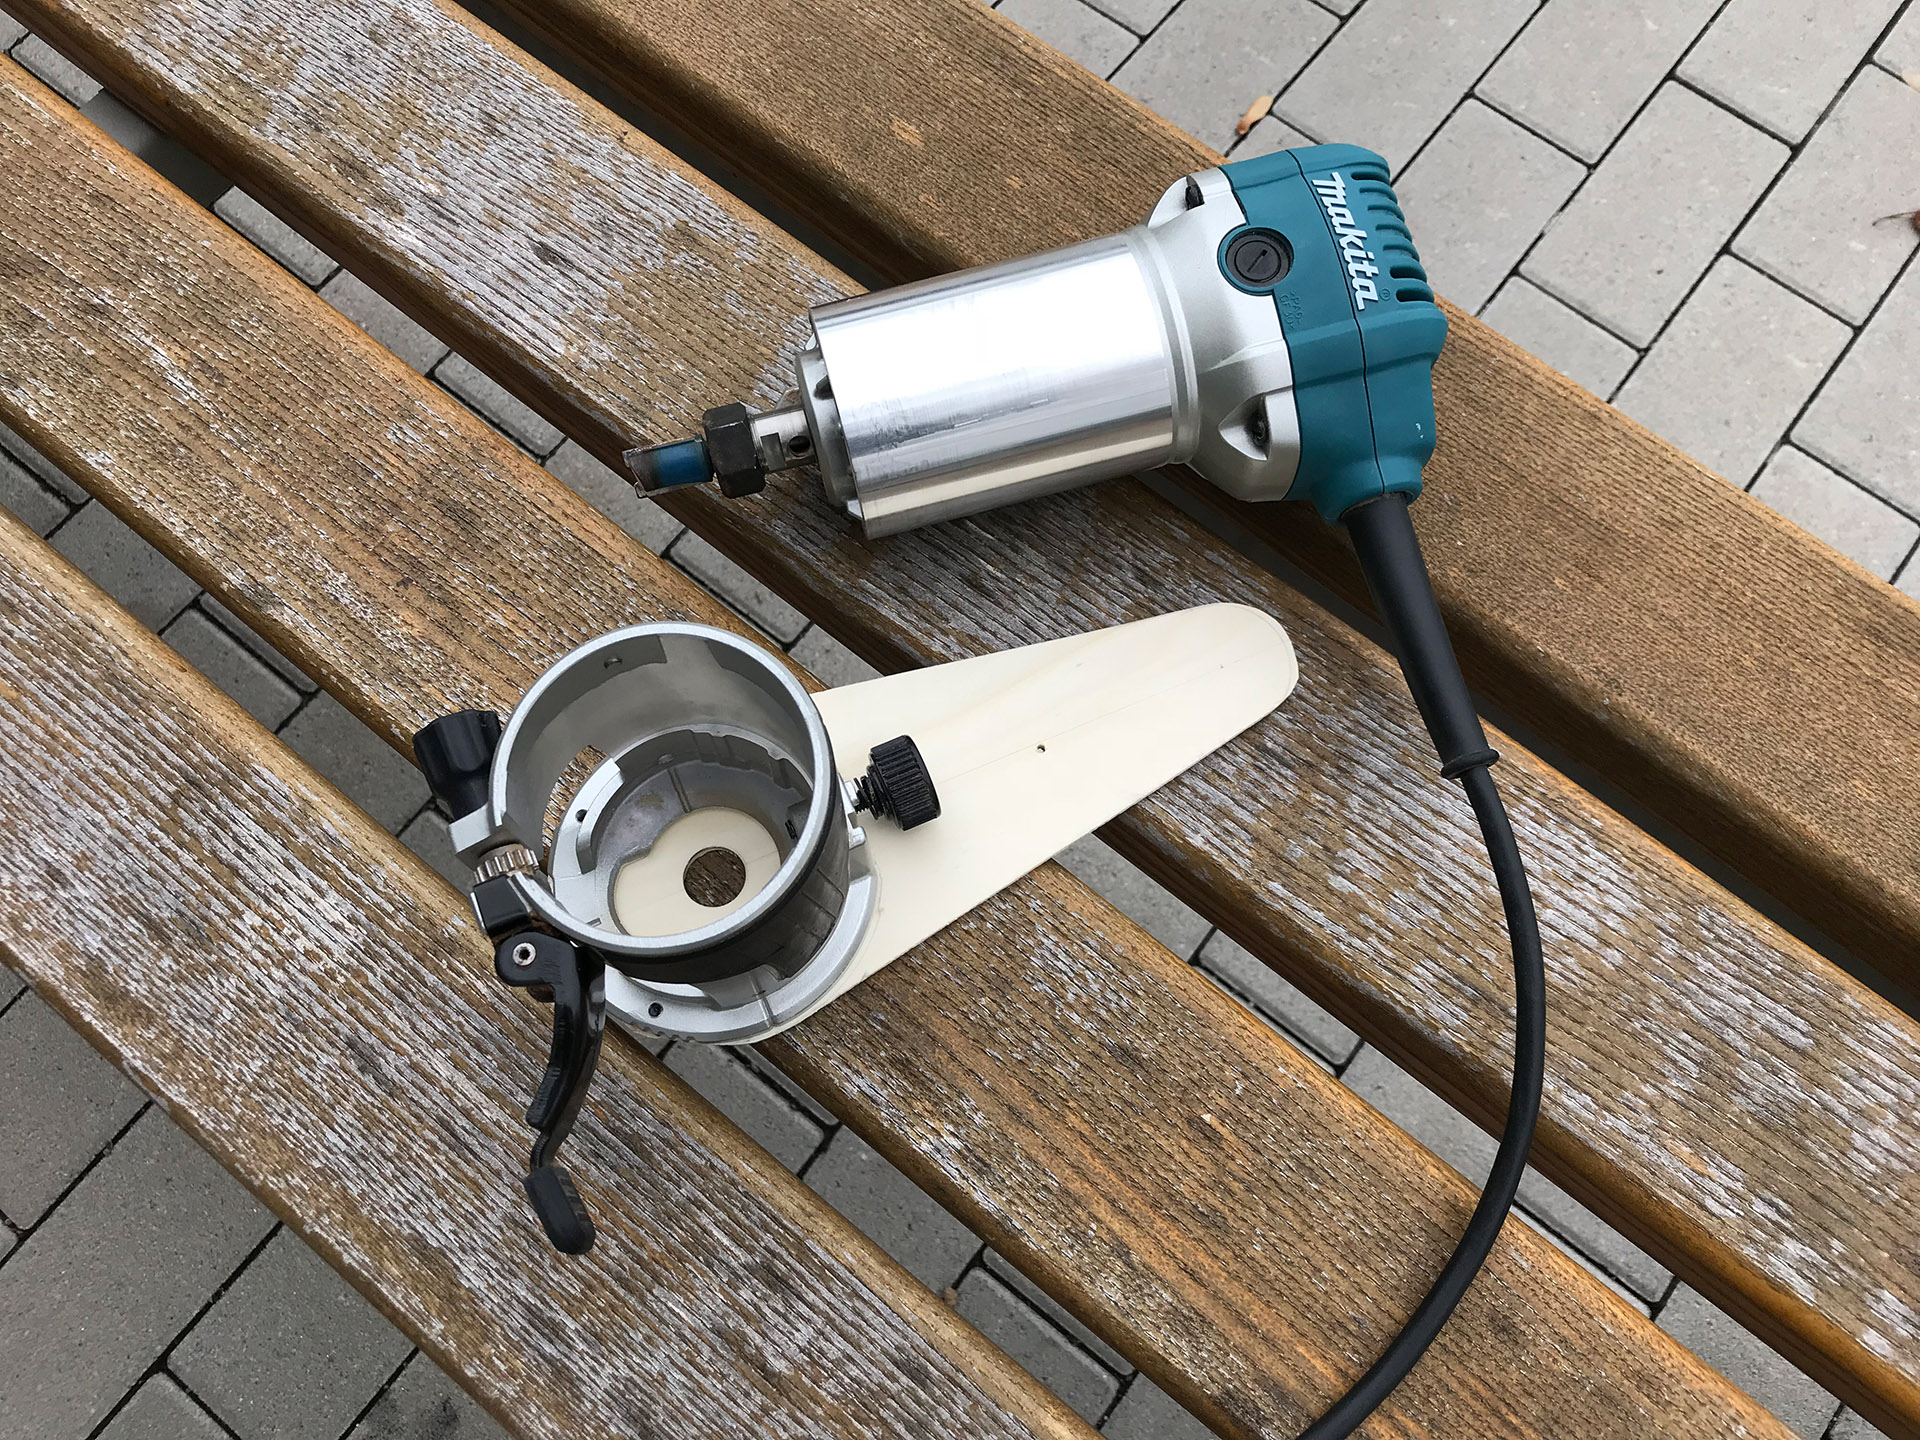
As you can see in the picture above, the contraption simply replaces the standard bottom plate of the router attachment.
I then plunged a 16mm straight bit right through the plywood in order to help me measure to the exact center point for a circle of a specific radius. At this point, I could then drive a screw through the jig into the material underneath and rotate the router around it in order to cut out a perfect circle.
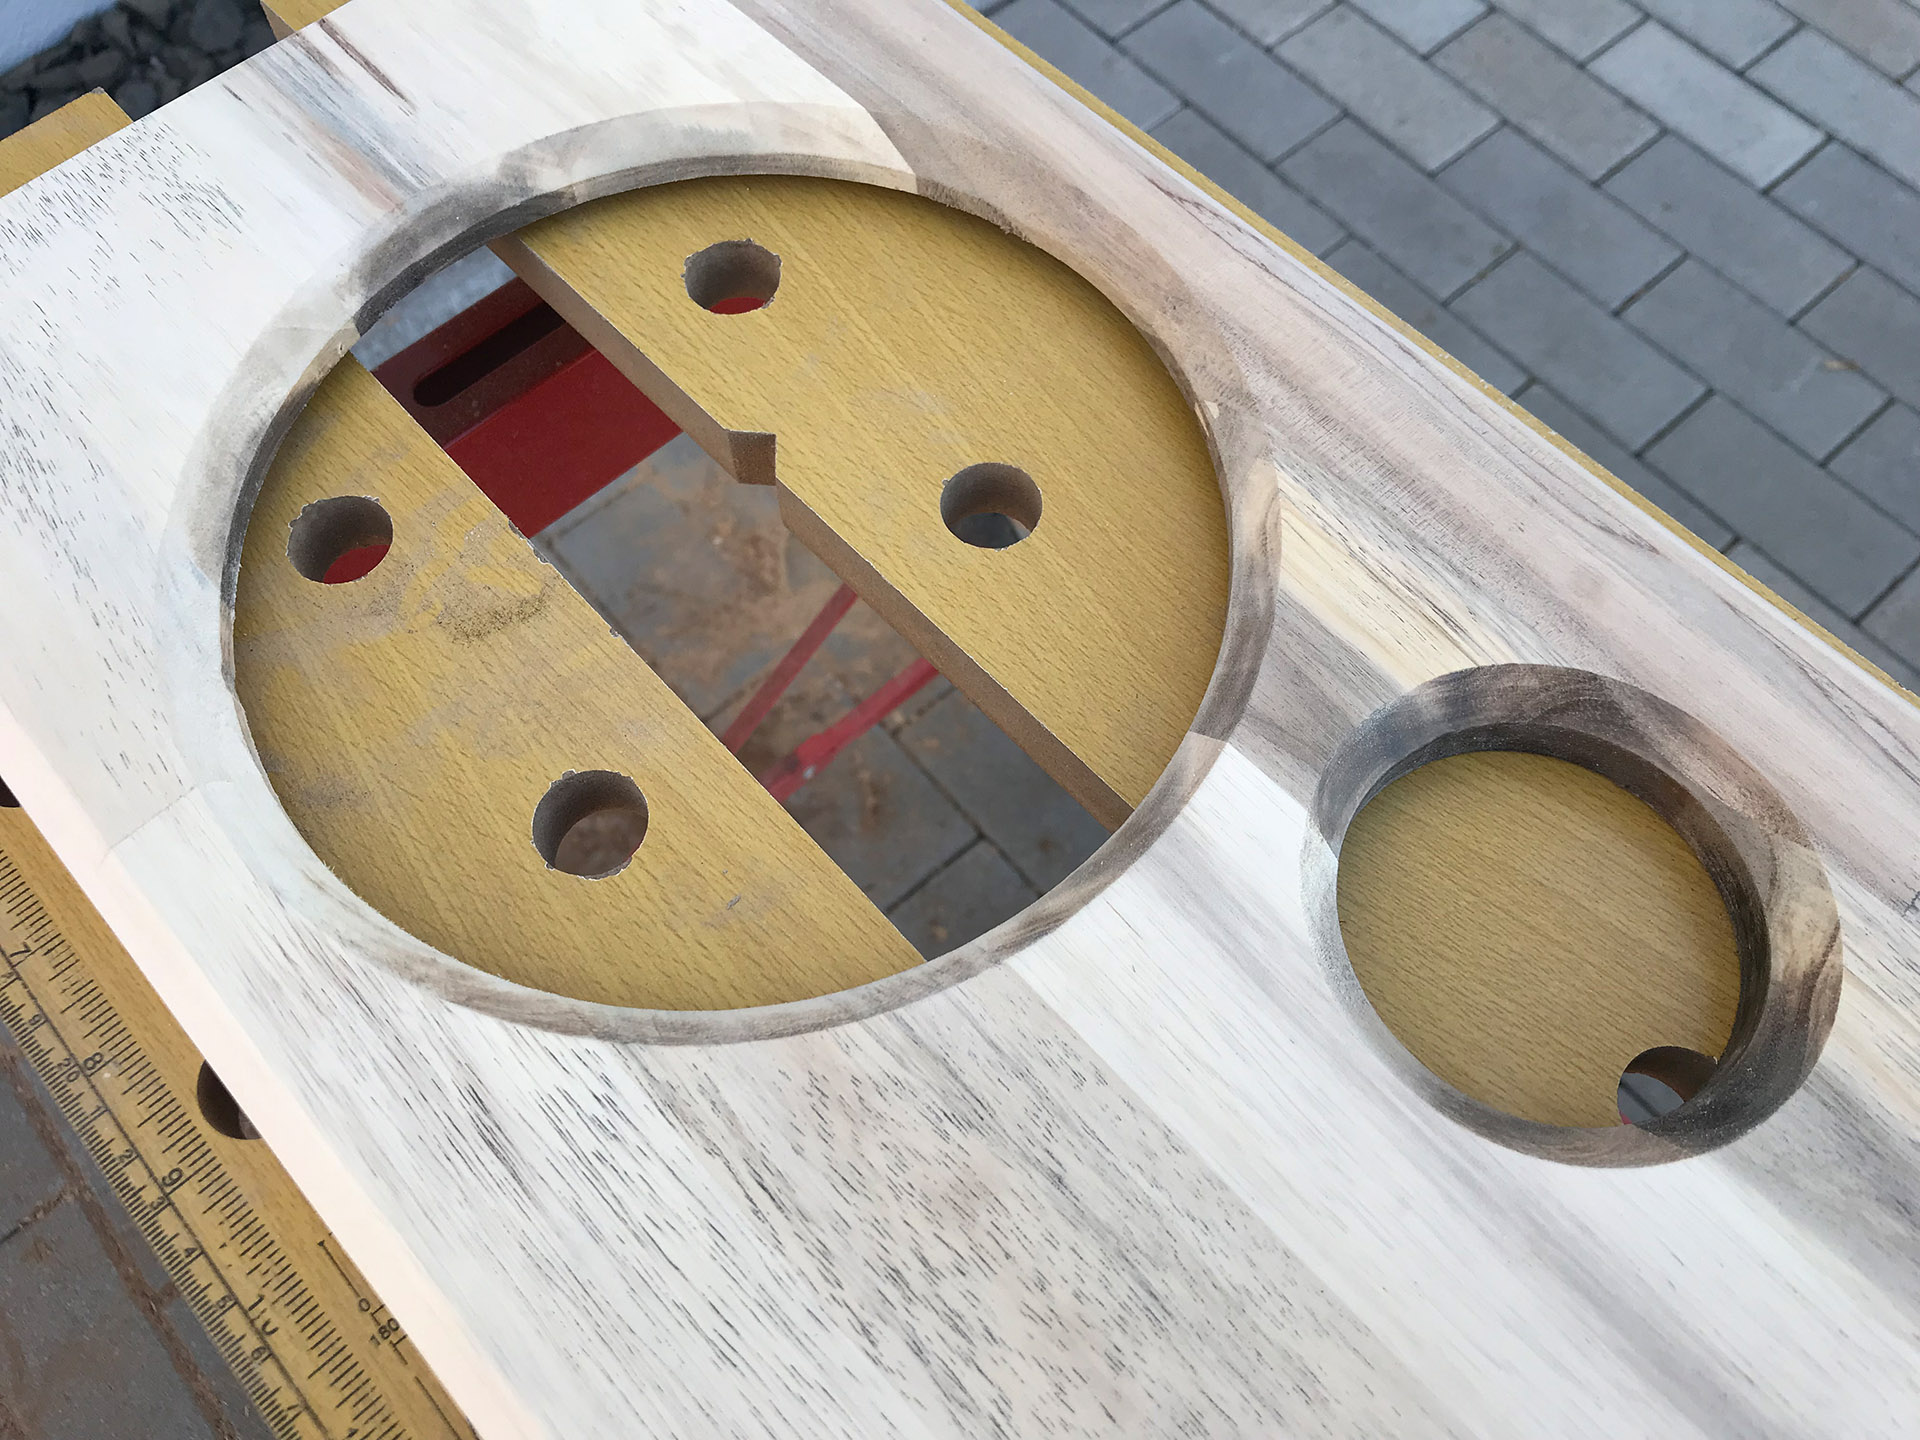
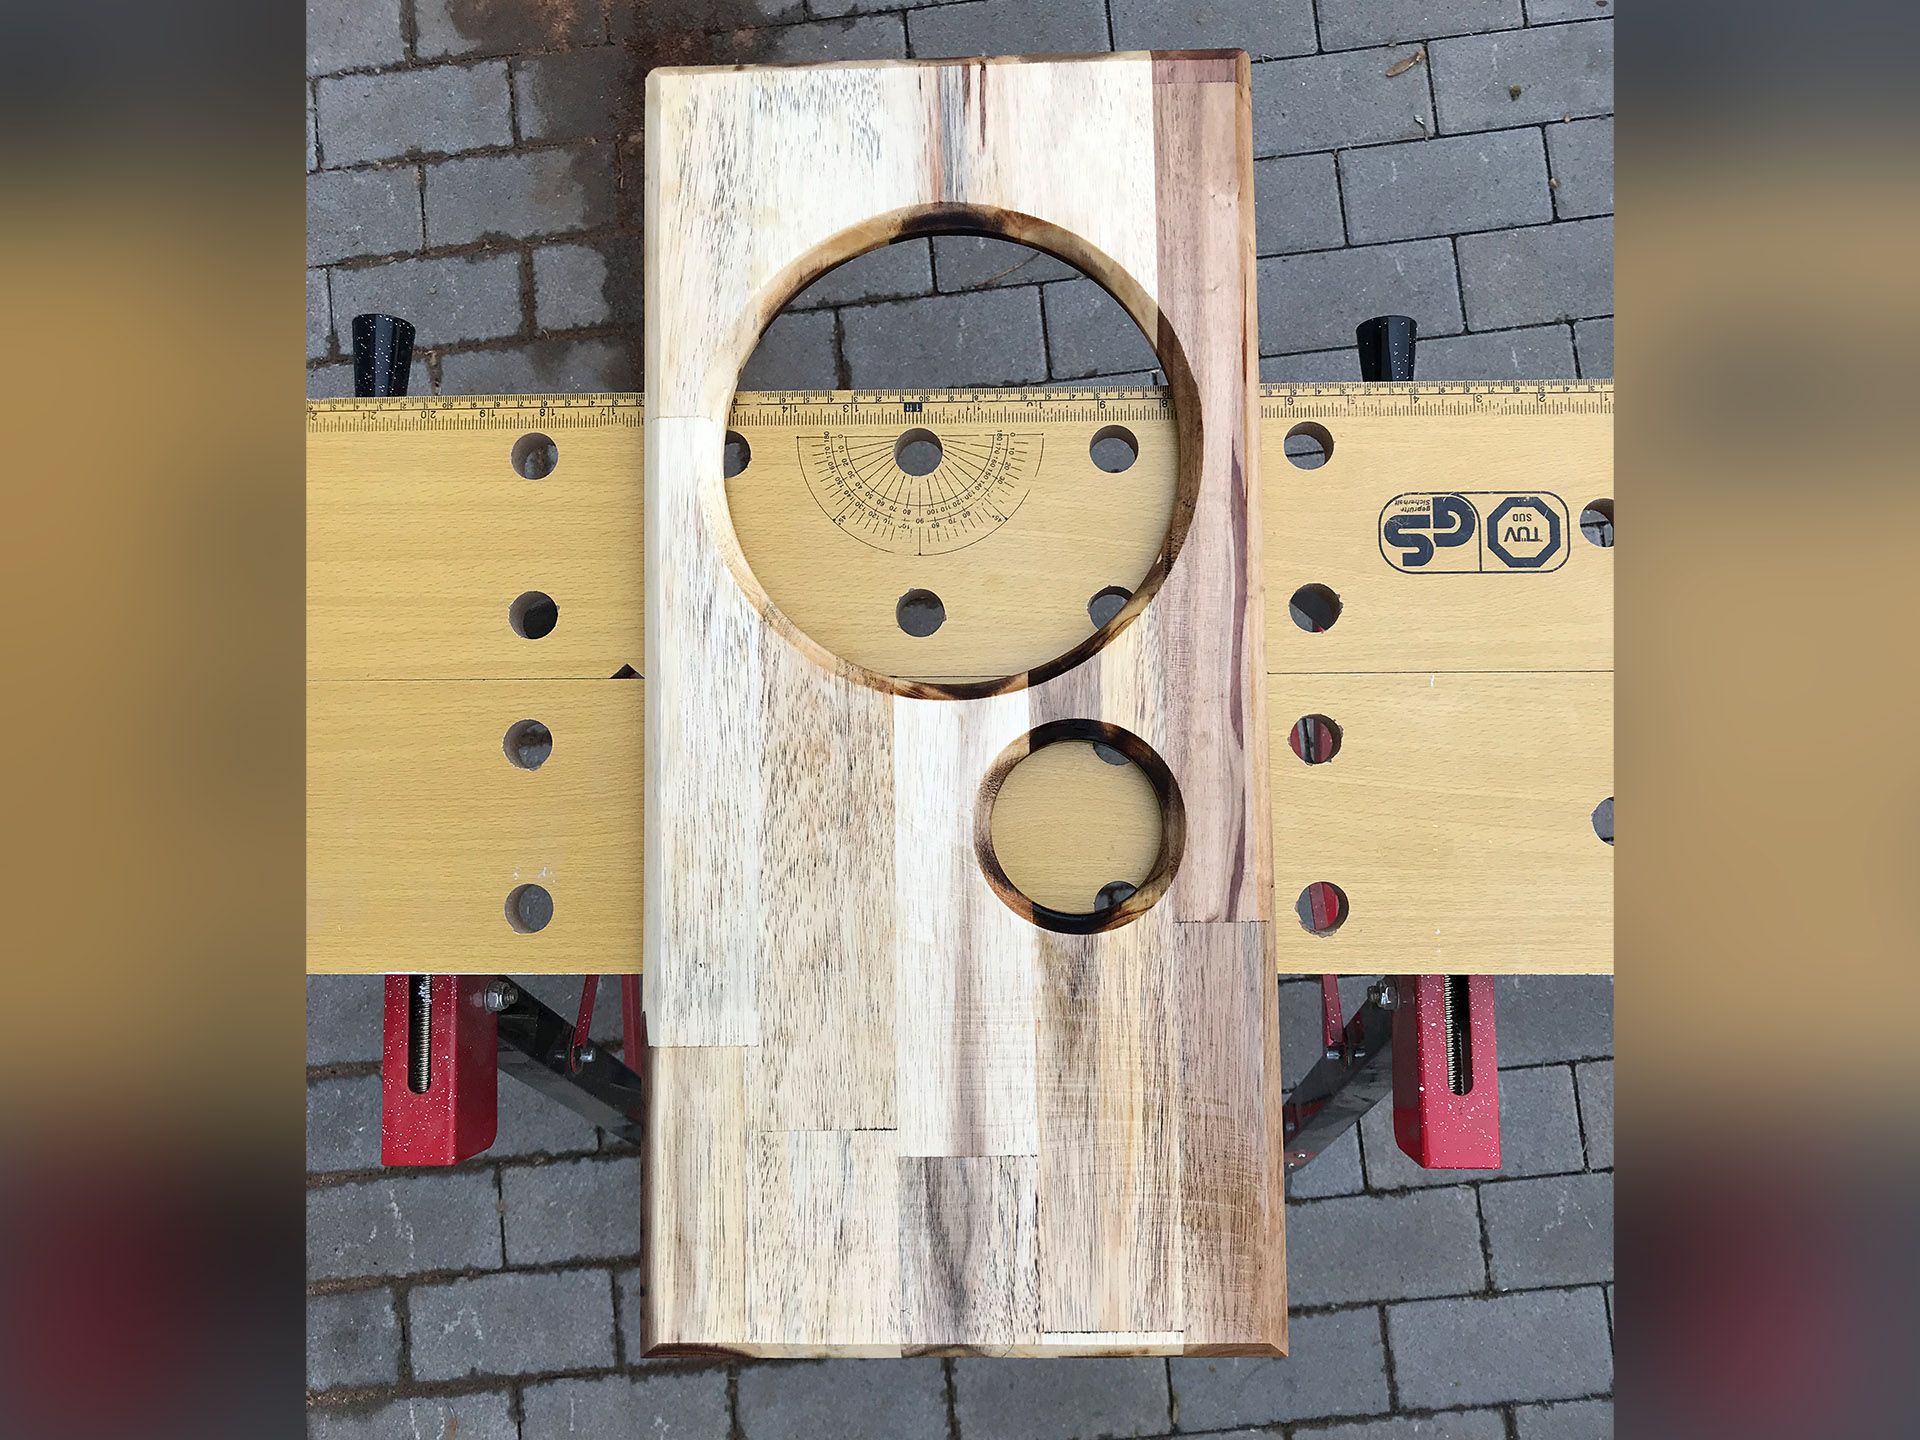
Cut-outs and Recesses
As the first step of the box build I laid out the desired locations of the speaker driver as well as the port opening in the front of the MDF box.
Since I wanted to have the speaker sit about 6mm deep inside the MDF board I not only had to route a full cut-out 180mm in diameter but before that made a recess using the same center point but setting a radius of about 105mm.

The cut-out which the port would be ending in followed right after that. I simply set the circle jig to a radius of 35mm and routed it straight through.

Speaker Terminal Cut-Out
As far as the placement of the speaker terminals in the rear of the enclosure went the process was a whole lot easier. The required diameter of the cut-out was only 50mm and I luckily had access to a forstner drill bit of that size.

Acacia Faceplate
Since at this point everything had been routed into the MDF boards for the speaker enclosure I went on to work on the faceplate which I made from the same type of wood used for the concrete desktop speakers.
In order to have the cut-outs in the acacia wood match the ones in the front of the MDF box, I measured the center points extremely precisely and then used the same center points already drilled into my circle cutting jig from before.
I started off on the backside of the faceplate with the same 105mm radius recess – this time only 4mm in depth in order to accommodate the 10mm thick speaker driver in between – followed by another 180mm cut-out. I then set the circle jig to a 35mm radius once again and made the cut-out for the bass port.

Now that I had finally made all the cut-outs and recesses required for this project I got rid of the circle cutting jig attached to my router (the flimsy thing had pretty much fallen apart at this point), switched to a 45° bit and put some nice chamfers on all front edges of the faceplate as well as around the cut-outs to make everything look a bit more “put together”.

The next day I sanded the faceplate up to a 400 grit to prep it for finishing and then applied some oil to it in order to make the different colors of the wood pop a lot more.
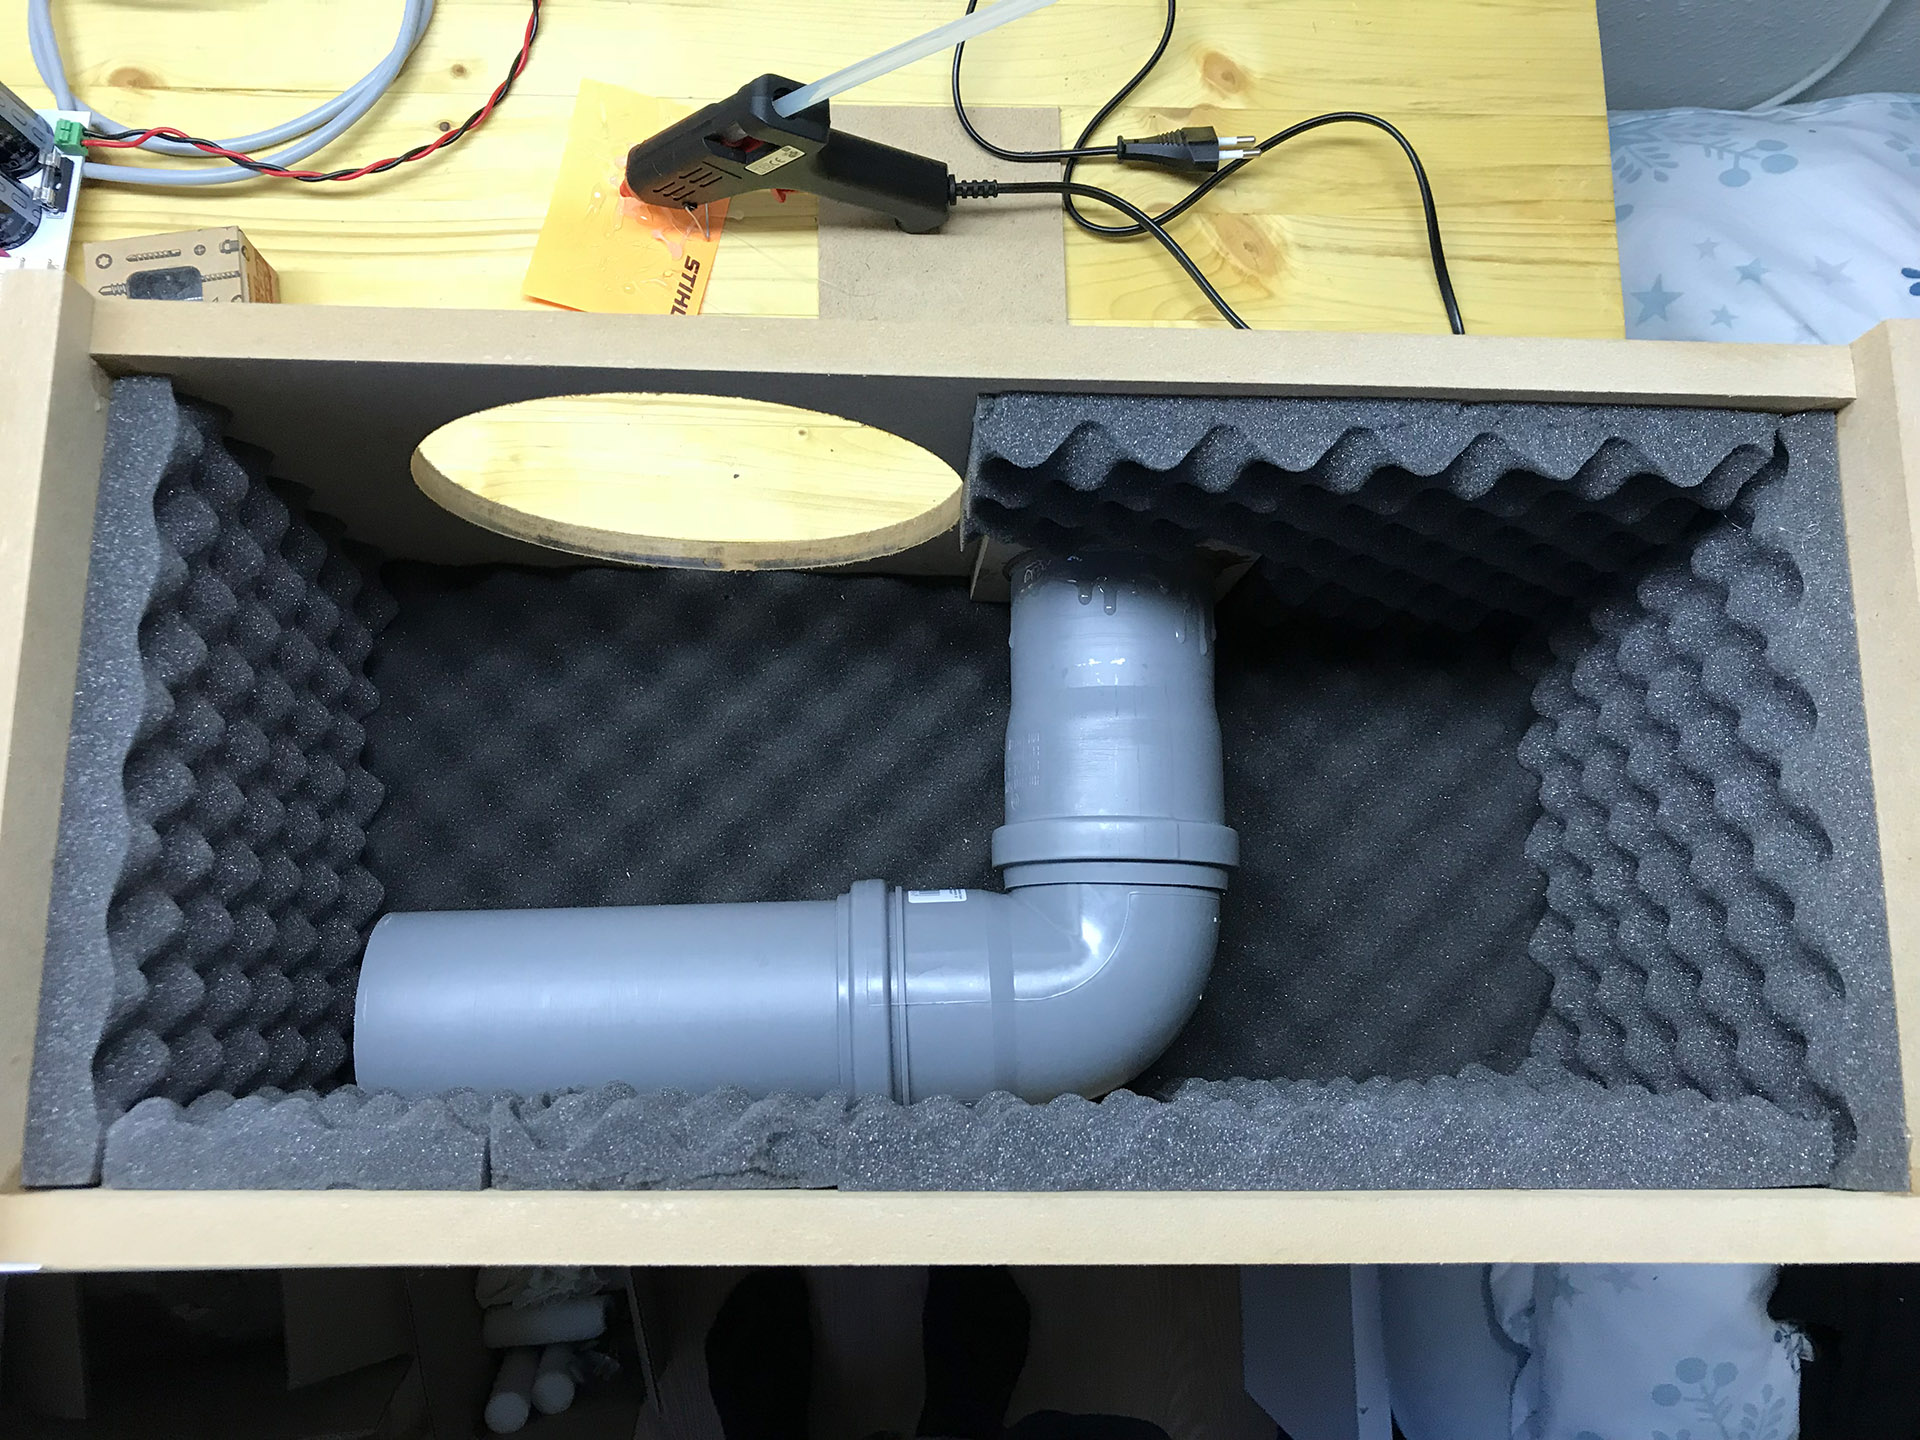
Assembly and Damping
At this point all required boards were processed and I was ready to start the first section of the assembly. In order to still have full access to the enclosure I started off by gluing five of the six sides of the MDF enclosure, leaving one side still open.

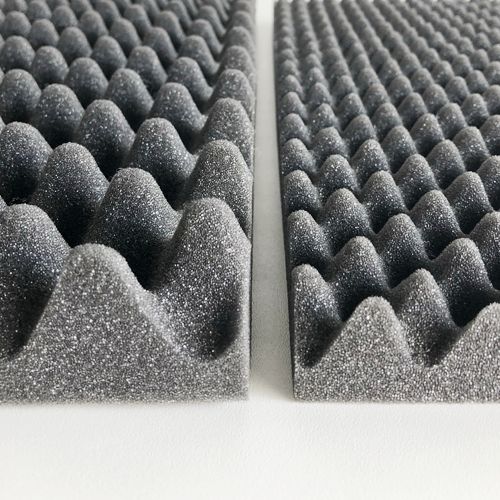
I then went onto putting some damping material inside the enclosure. For this, I simply cut some foam to size and attached it to the MDF with a considerable amount of hot glue.

Bass Port
Now that I was about ready to close the enclosure entirely it was time to mount the massive bass port inside the box. In order to help attach it I had routed some more pieces of MDF earlier on. These pieces are made from some 10mm MDF and have a circle 75mm in diameter routed into them in order to perfectly fit the outer diameter of the PVC pipe I used.
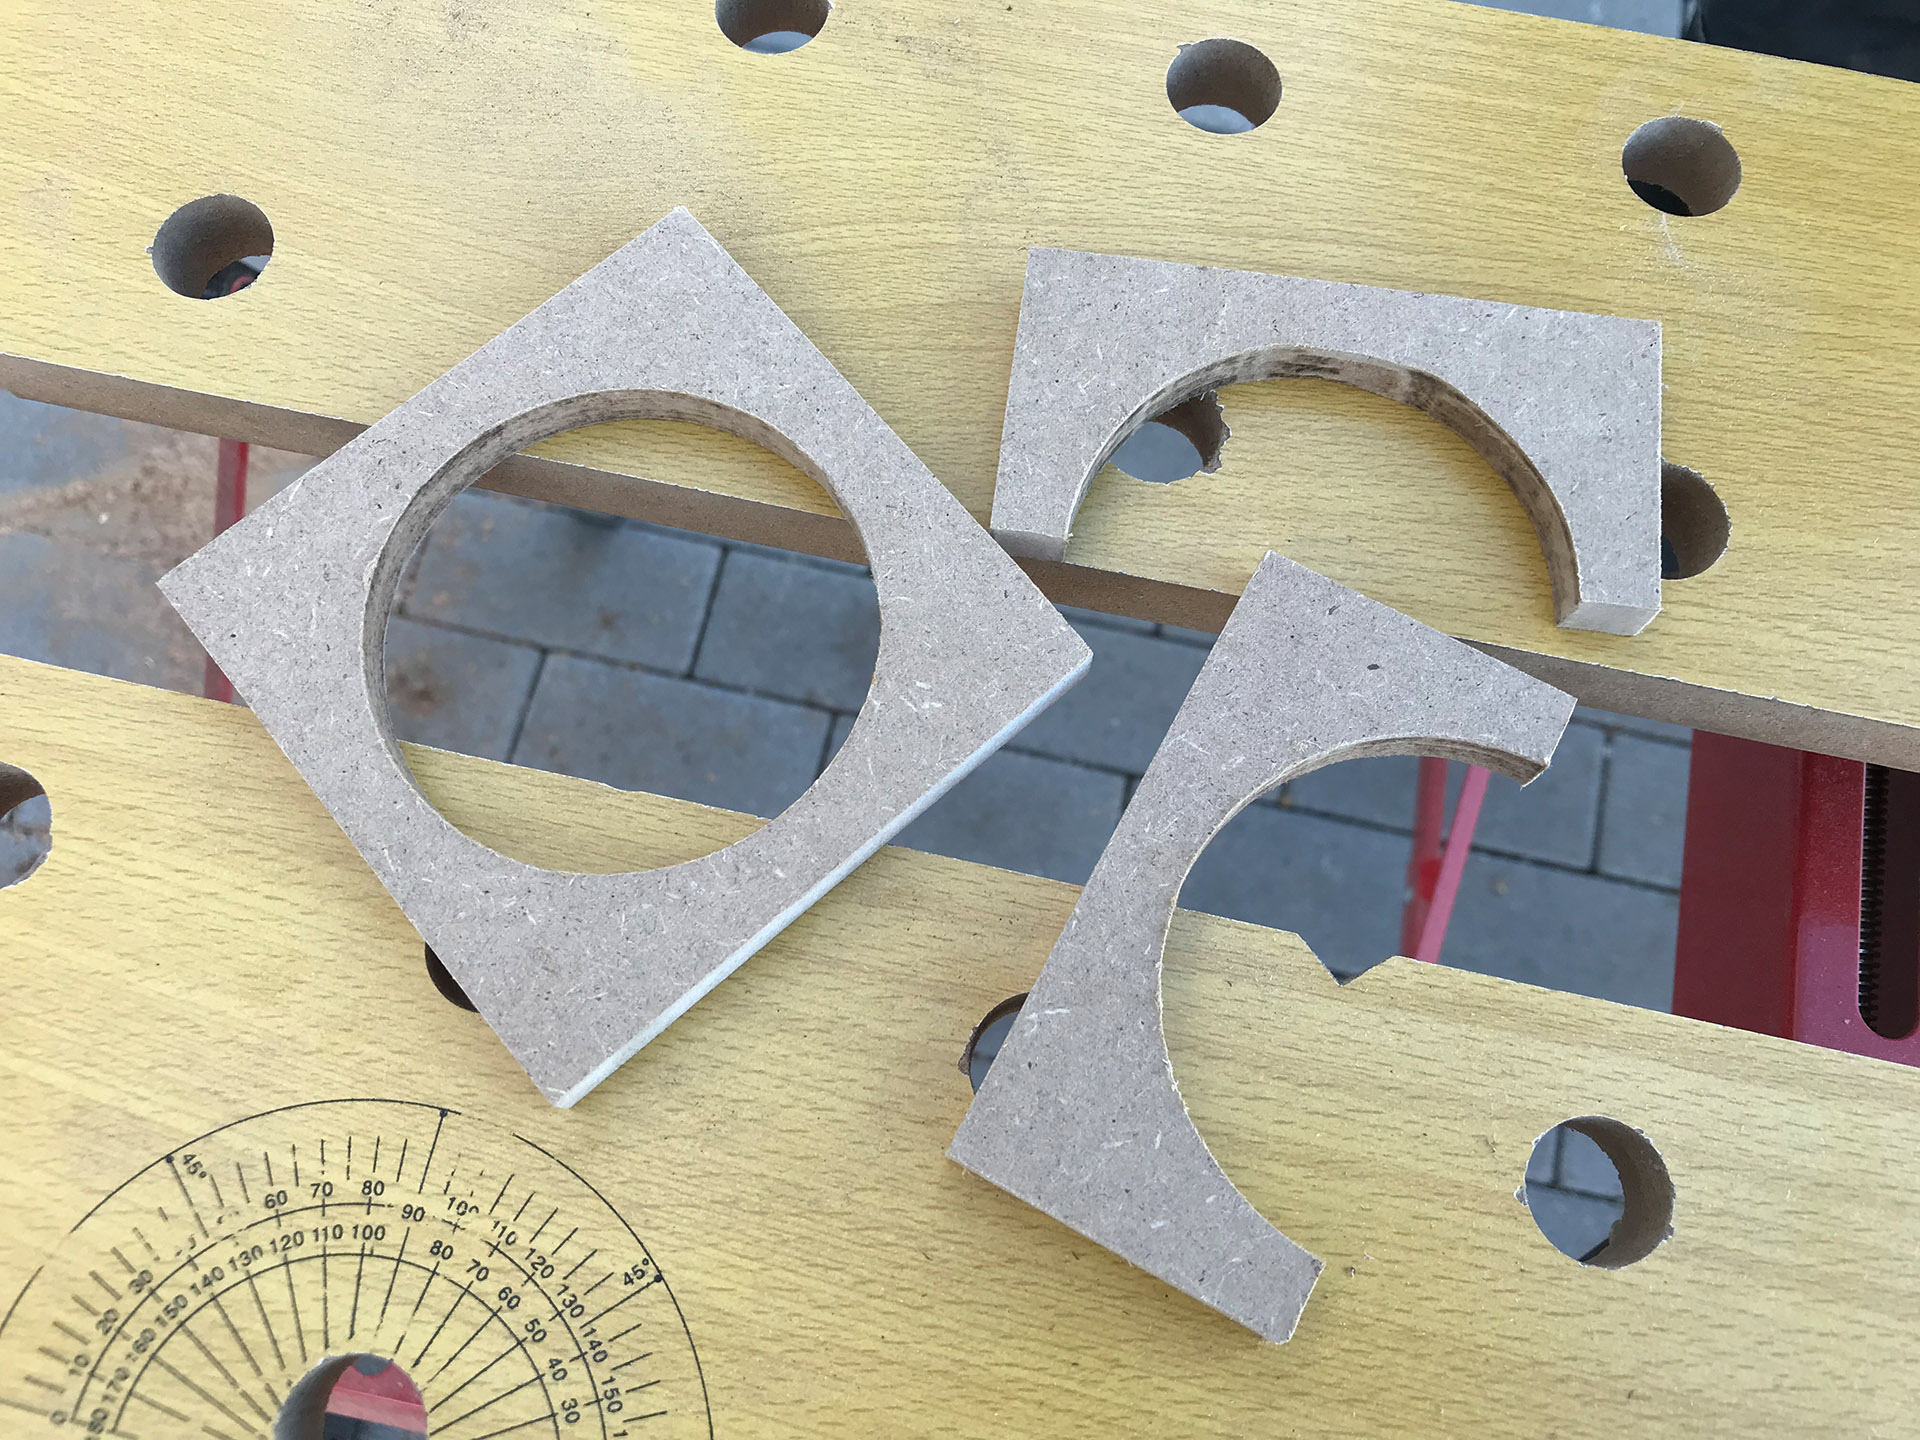
For placement and space reasons I ended up only using the full circle one, though. That piece was simply glued to the front of the box from the inside, right behind the port cut-out in order to have a larger gluing surface to attach the pipe to the subwoofer enclosure.

In the next step, I permanently attached the first part of the port to the bracket shown above using some two component epoxy.

After cutting some more PVC pipe to length I was then able to complete the bass port. There really wasn’t much room to spare.
Closing The Box and Sanding
The final step of the MDF enclosure building process involved gluing on the second side of the box and then sanding everything flush from the outside. I also filled some minor gaps with a bit of wood putty.


Painting
At this point, all the woodworking was completed and it was time to go on to the process of painting the box. As described earlier on, I decided to make the main enclosure a matte white which was quite convenient since I could simply use the white MDF primer as the only color needed.
In total I put on three coats of primer using a foam roller, letting each layer dry for at least 12 hours and sanding lightly in between.

I then finished off the process of painting by applying one coat of matte, clear spray lacquer.

Component Mounting
After the spray lacquer had dried sufficiently I was ready to start with the very last steps before actually being able to listen to the subwoofer for the very first time.
I took the enclosure inside and mounted four small rubber feet to the (not so pretty) bottom of the MDF box so that it would be isolated well from the floor.

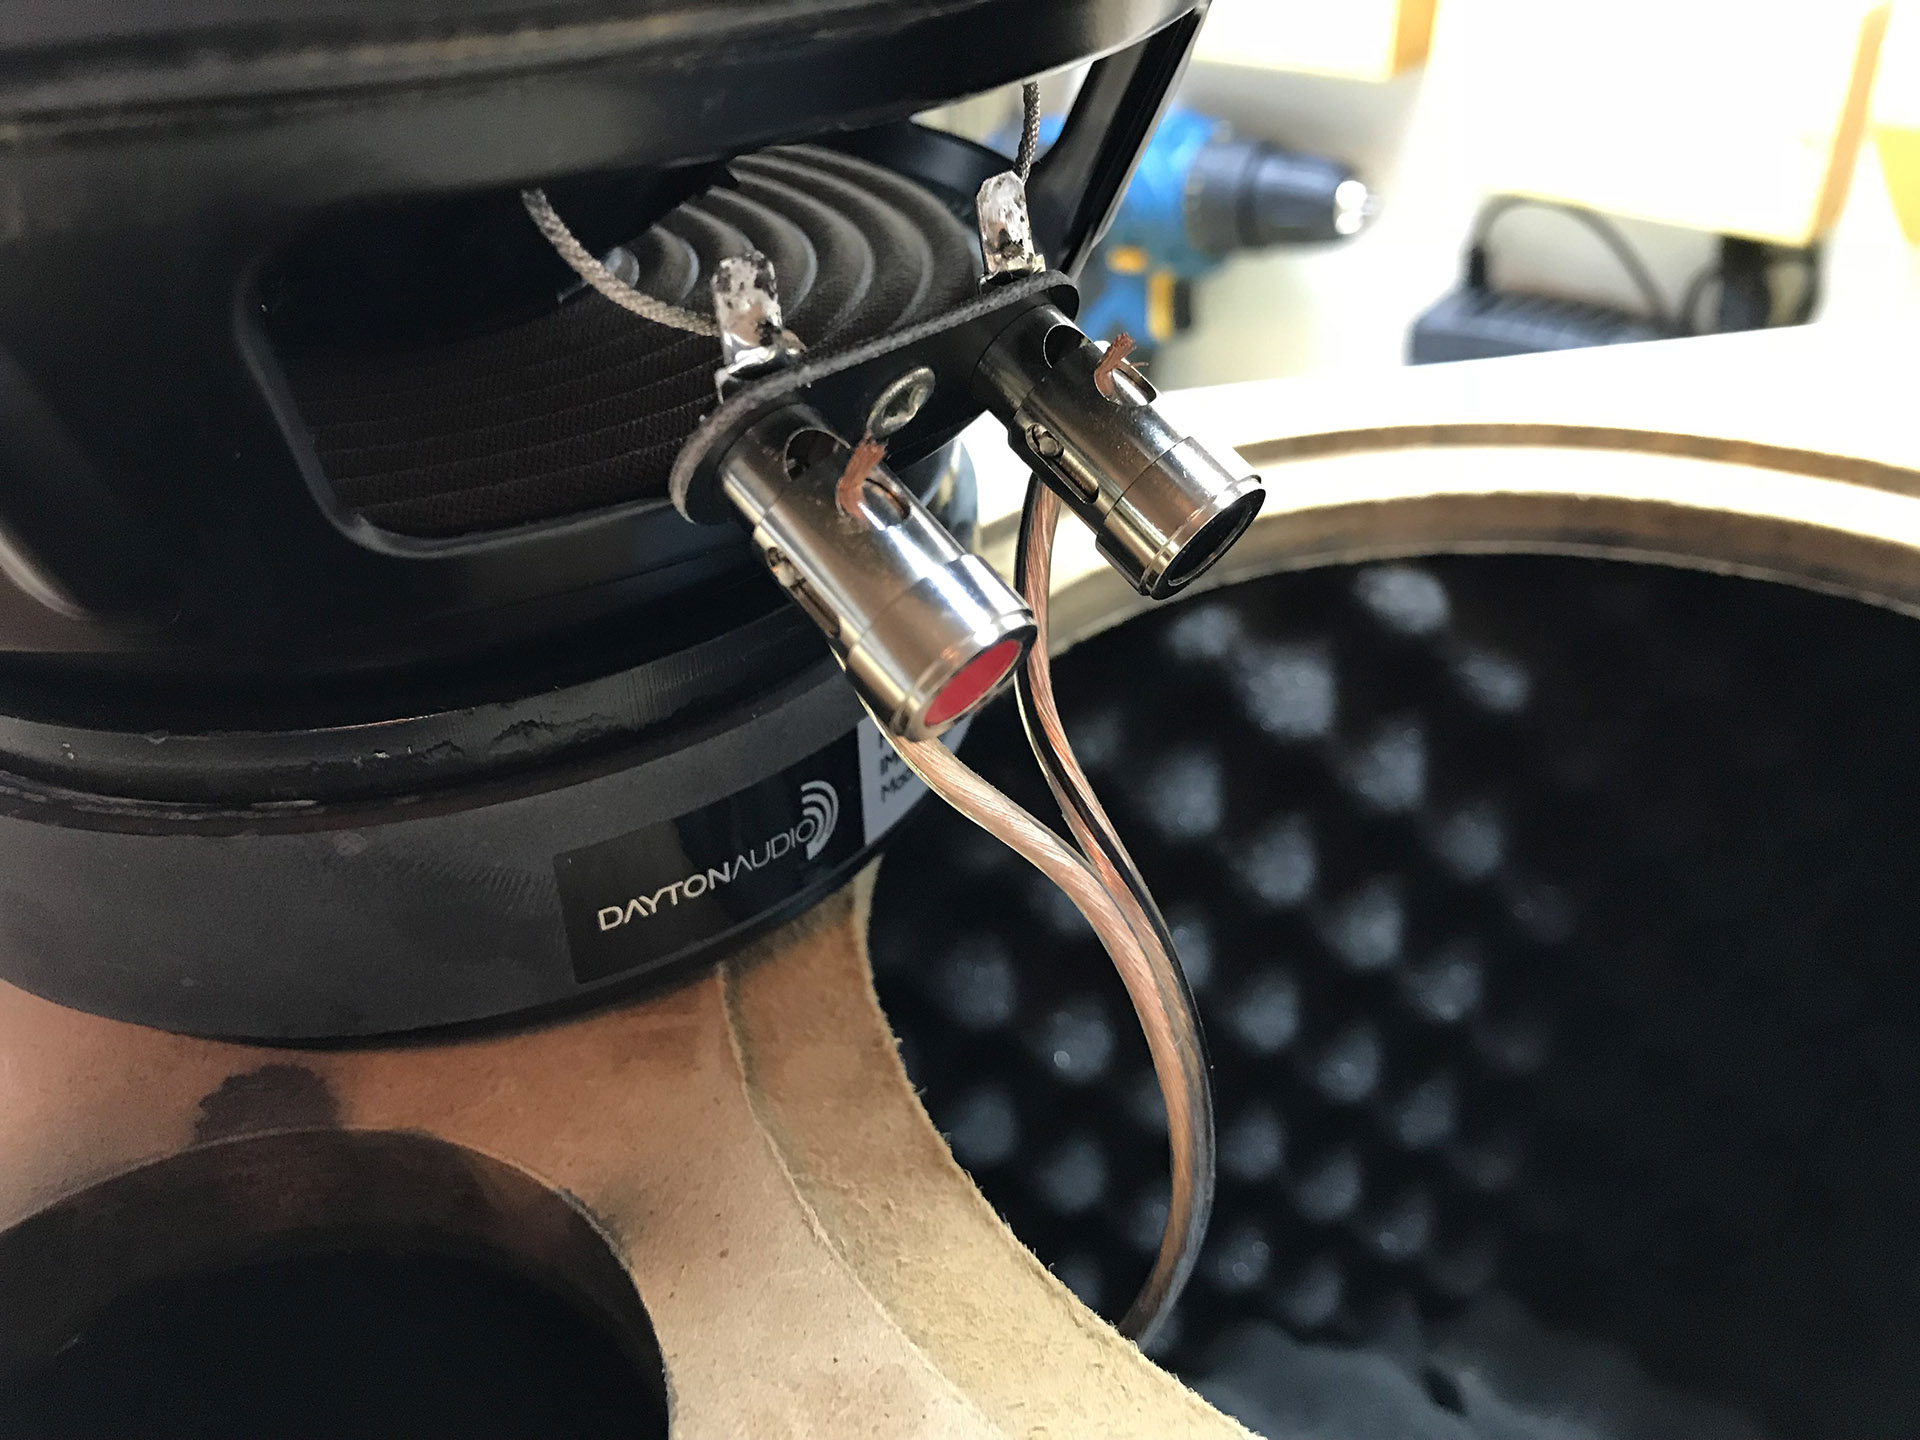
Next, I soldered a piece of speaker wire to the inside of the speaker terminals I had gotten for this project and then mounted it inside the previously made cut-out.

At this point I could attach the other end of the speaker wire to the driver’s terminals and then mount said driver inside the cut-out and recess on the front of the MDF enclosure.
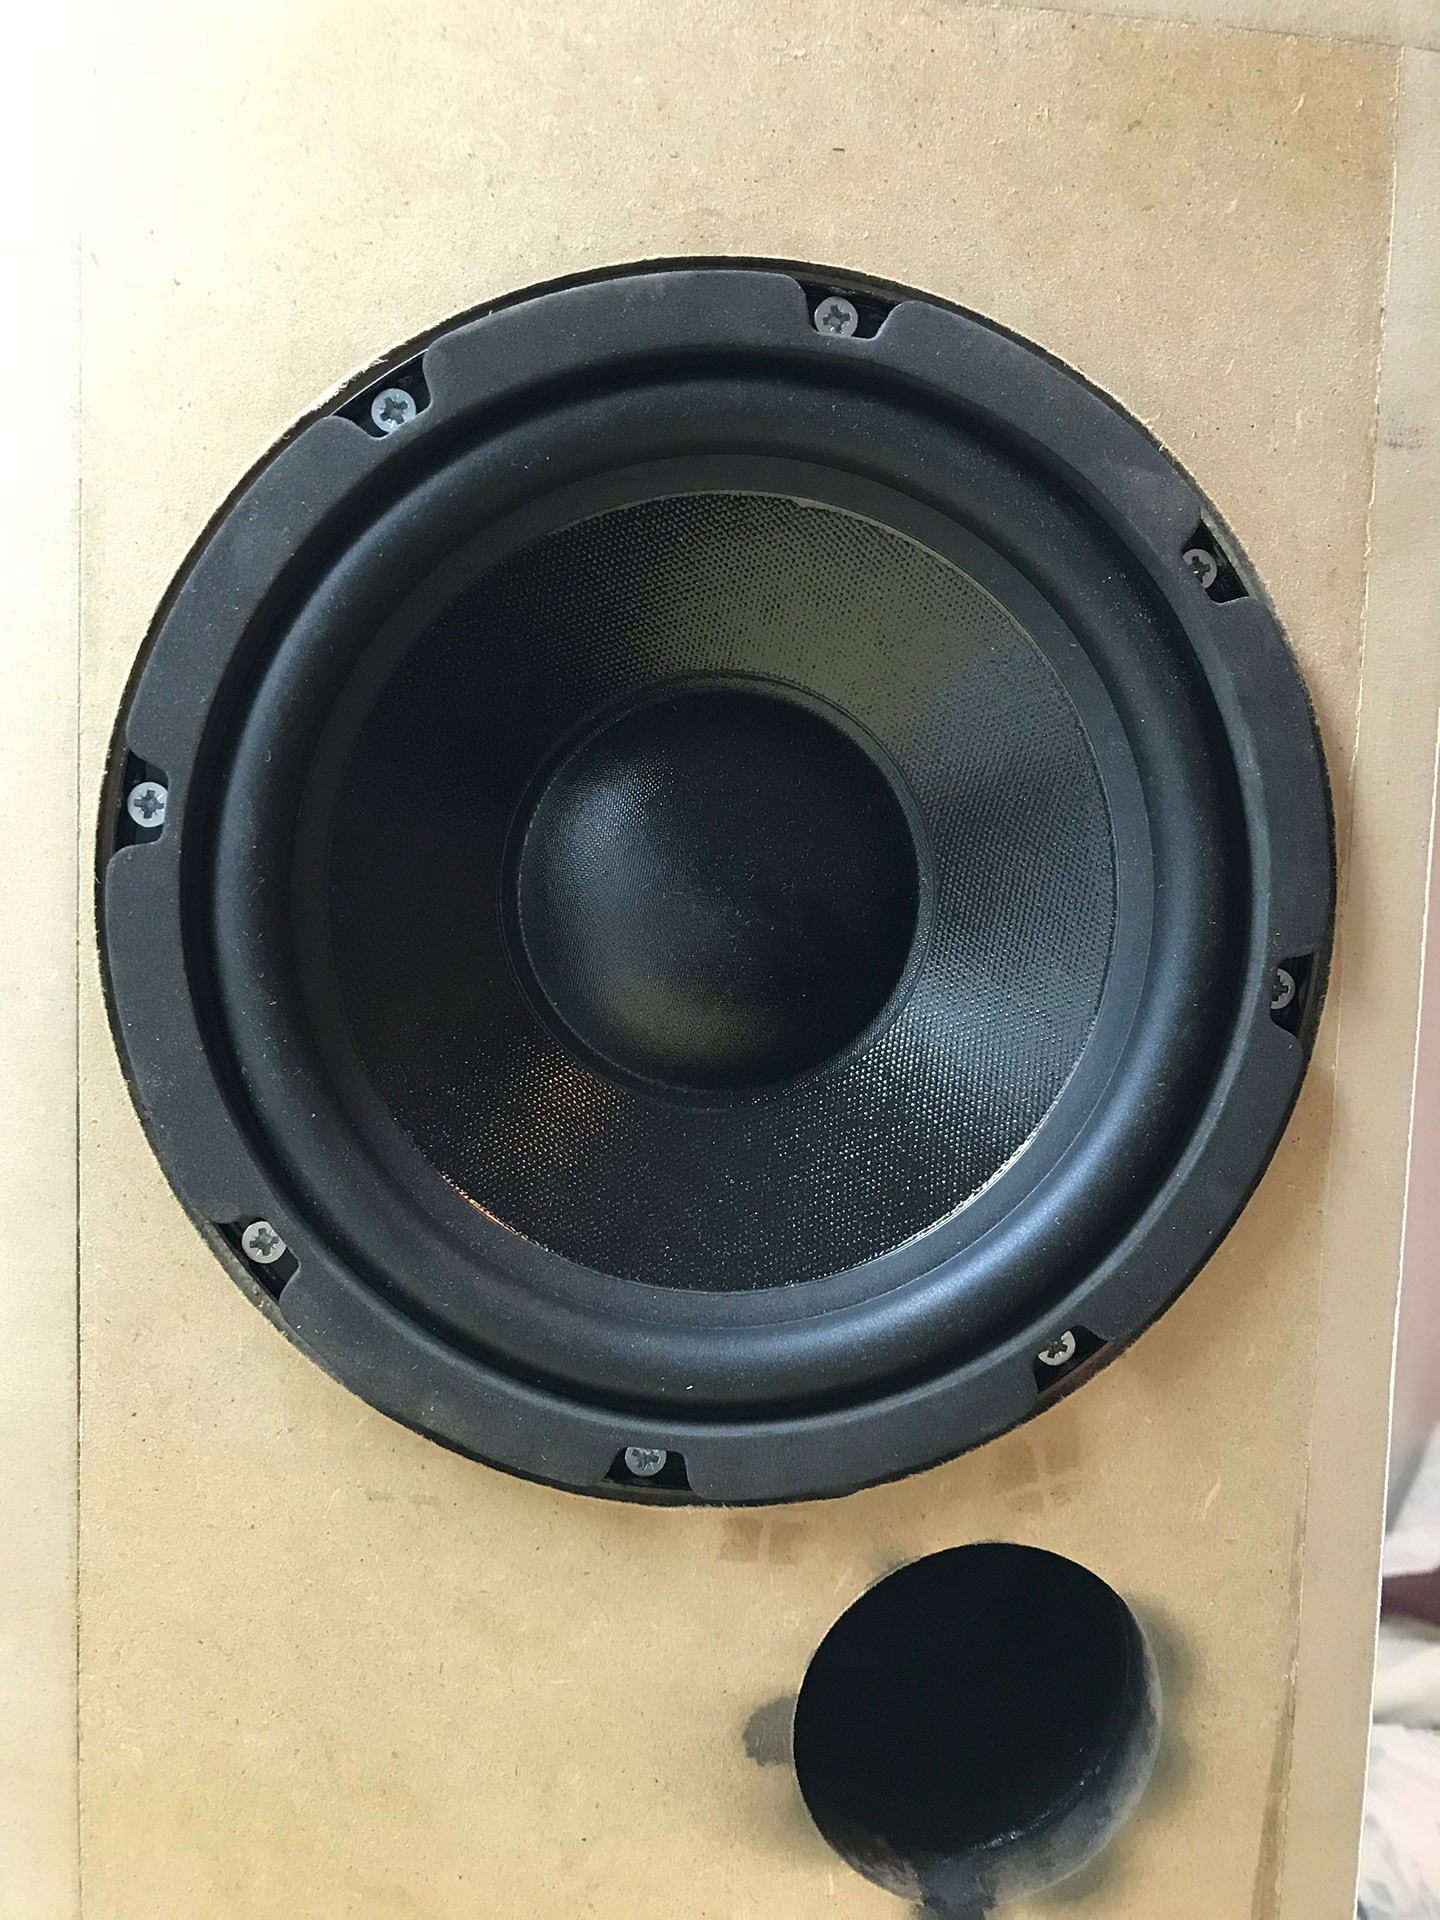
First Sound Test
Before making the speaker driver sort of non-removable due to the way the faceplate is constructed I conducted the first listening tests by turning up some nice beats as well as watching an action movie. I was extremely pleased with the deep and well defined bass notes my subwoofer was able to hit even with the very cheap Chinese 2.1 channel amplifier I’m currently using.
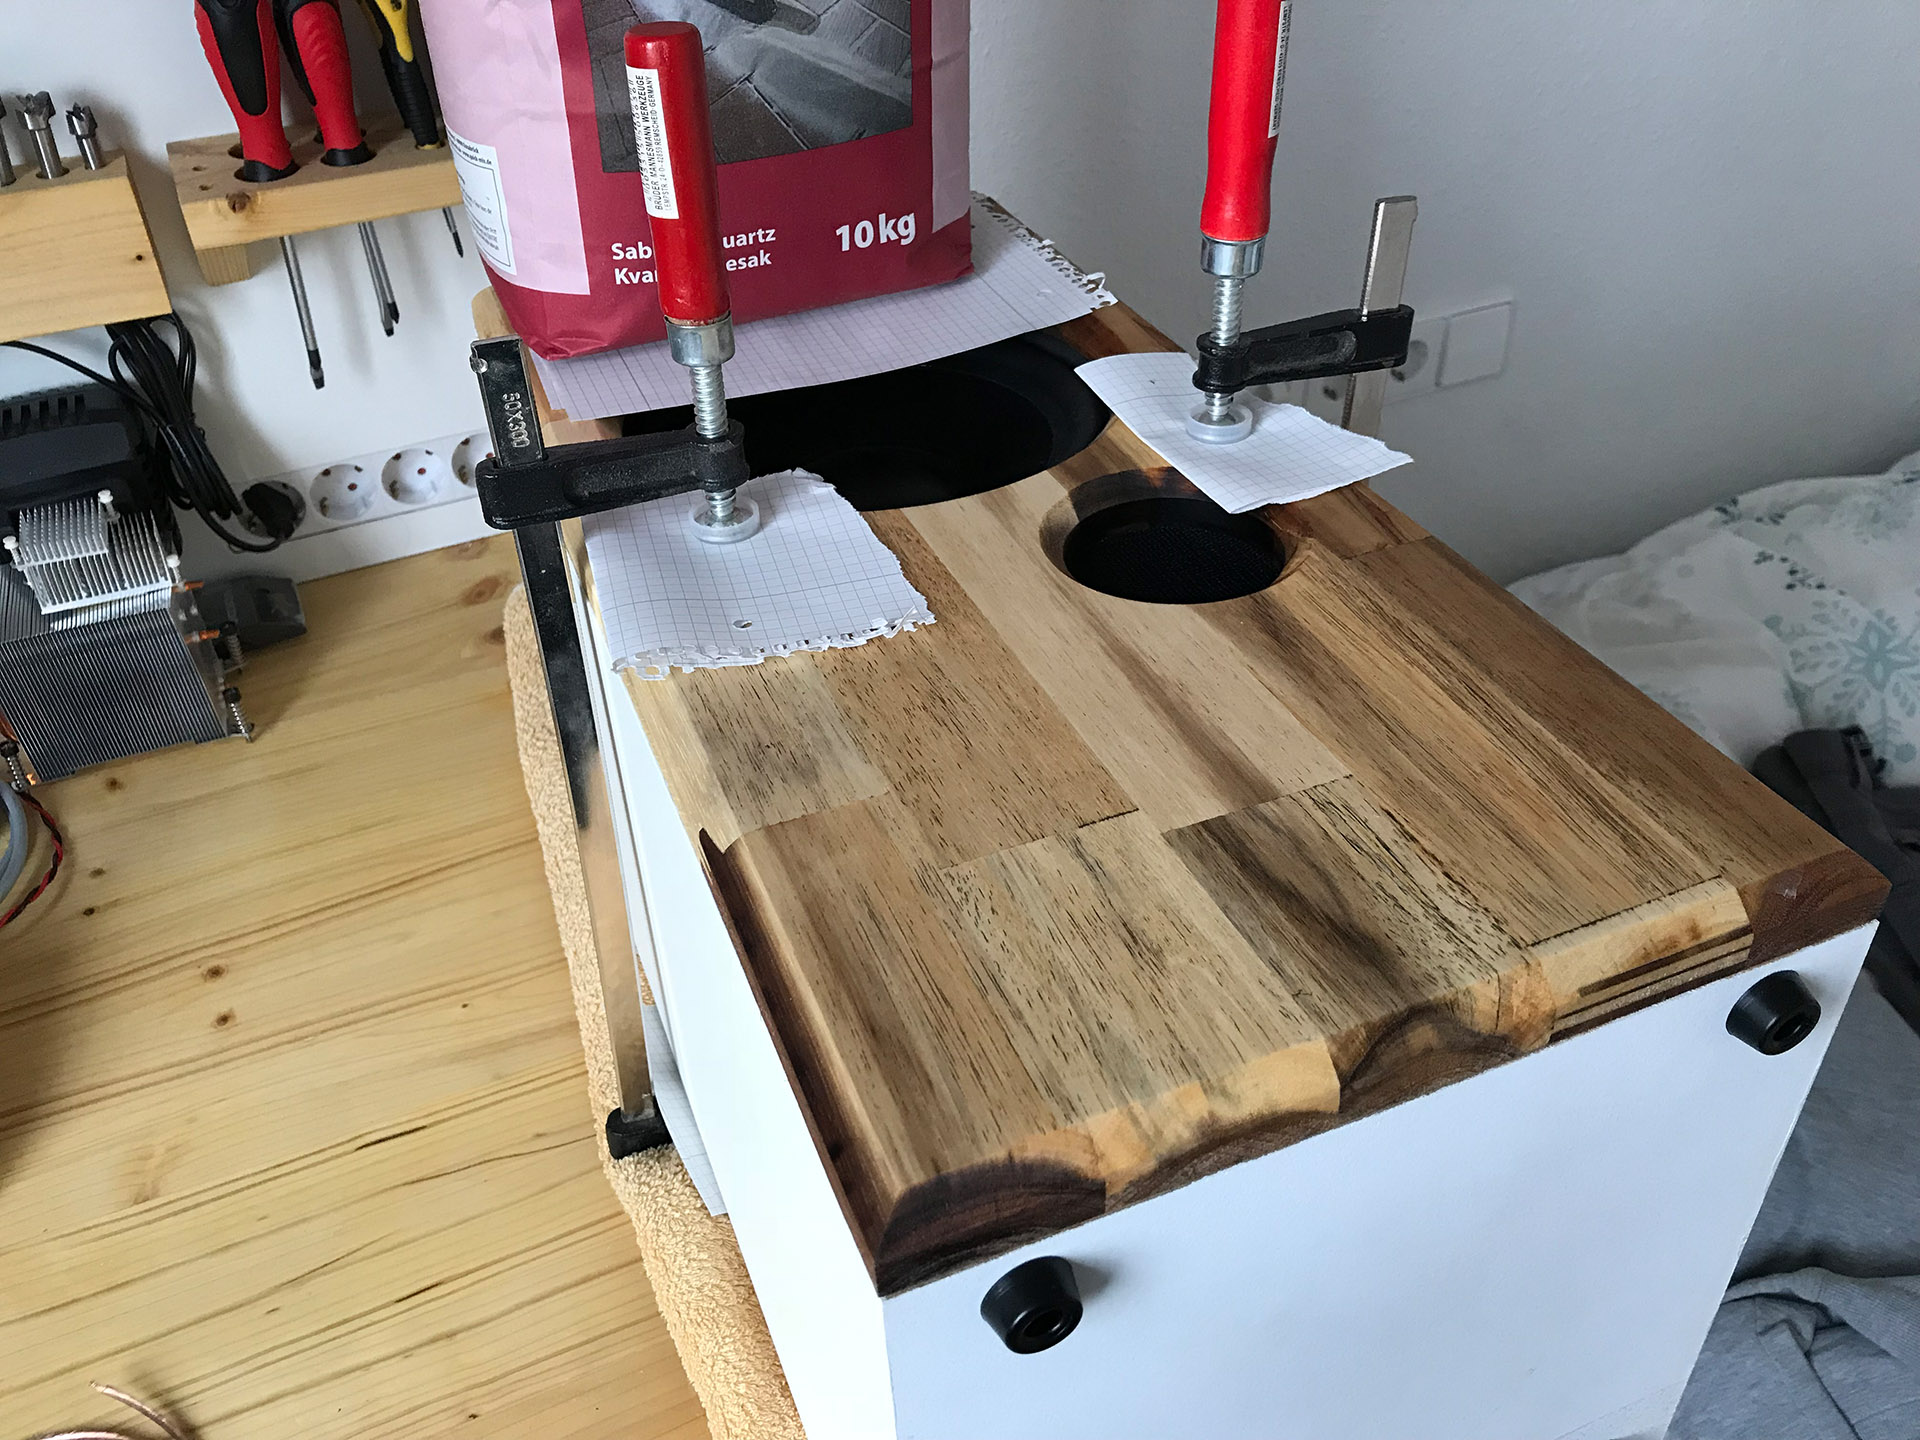
Attaching the Faceplate
The very last step required to bring this project to a successful end was to cover the port hole with some black mesh fabric and then attach the acacia faceplate to the front of the MDF enclosure with some more wood glue.

The Result

About me
My name is Marco and I am currently studying Electrical Engineering and Computer Science at the University of Stuttgart. To counterbalance the strong theoretical focus, I am building things made from wood, metal or concrete in my spare time and I like to document the building process on my blog. Speaker building is the ideal hobby for me, because it allows me to strive for the best possible result by combining theoretical calculations and craftsmanship. Also, I can enjoy the final result every day when listening to music or watching a movie. Would you like to see more creations of Marco? Check out his Wordpress blog.
Used components
Dayton Audio DCS205-4 8" Classic Series Subwoofer


Elko
Posted on thursday 28 october 2021 09:34
Dear Bartosz,
Re-simulating the design from Marco (a 20 liter cabinet, tuned for 35 Hz) gives an estimated F3 around 35 Hz. Unfortunately we do not have information on low frequency extension of the real world build. The simulation is rendered in half-space, but it should give a good impression of the expected output.
Show more