Home audio
  Audio components
  Crossover components
  Test & measurement
  DIY kits
  Accessories
  New products
  SALE
SALE  Speakers
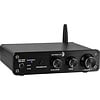 Amplifiers
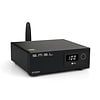 DAC converters
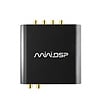 DSP modules
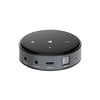 Streamers
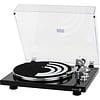 Turntables
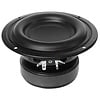 Woofers
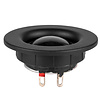 Tweeters
 Exciters
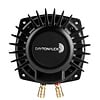 Bass shakers
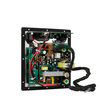 Plate amplifiers
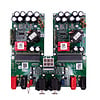 Amplifier modules
 Assembled crossovers
 Printed Circuit Boards (PCB)
 Capacitors
 Resistors
 Coils
Coils Circuit Breakers
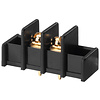 Screw terminals
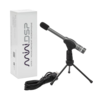 Acoustic measurements
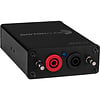 Electric measurements
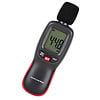 Sound level meters
 DIY amplifier kits
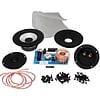 DIY component packs
 DIY speaker kit
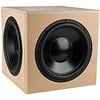 DIY subwoofer kits
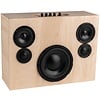 DIY bluetooth speaker
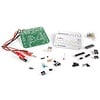 DIY electronics kits
 Binding posts
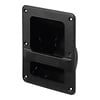 Cabinet Hardware
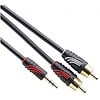 Cables
 Connectors
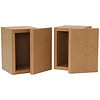 Speaker cabinets
 Electromechanics
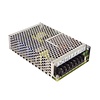 Power supplies
 Speaker repair
 Workshop & tools
 Amplifier accessories
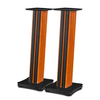 Stands & mounts
 Gift voucher
 Books
Books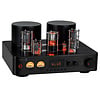 New products
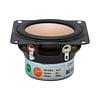 Deals under € 100
  Deals from € 100


 Speakers
 Amplifiers
 DAC converters
 DSP modules
 Streamers
 Turntables
 Woofers
 Tweeters
 Exciters
 Bass shakers
 Plate amplifiers
 Amplifier modules
 Assembled crossovers
 Printed Circuit Boards (PCB)
 Capacitors
 Resistors
 Coils
Coils Circuit Breakers
 Screw terminals
 Acoustic measurements
 Electric measurements
 Sound level meters
 DIY amplifier kits
 DIY component packs
 DIY speaker kit
 DIY subwoofer kits
 DIY bluetooth speaker
 DIY electronics kits
 Binding posts
 Cabinet Hardware
 Cables
 Connectors
 Speaker cabinets
 Electromechanics
 Power supplies
 Speaker repair
 Workshop & tools
 Amplifier accessories
 Stands & mounts
 Gift voucher
 Books
Books New products
 Deals under € 100
  Deals from € 100
 Dayton Audio exciters
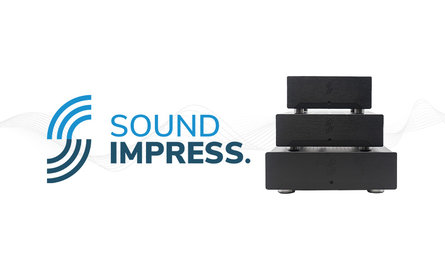
Active Speaker Design featuring Hypex Fusion Amplifiers
Terms such as Hypex Ncore®, UcD, SMPS and DSP are household names among speaker enthusiasts. We would like to tell you more about the brands' products and show you what is possible with respect to designing active speakers and their advantages compared to passive designs. What do you need for a DIY 3-Way active speaker design? Which options are there, and which steps should you take for good results? Continue reading and find out how to build the perfect active speakers.
Advantages of Hypex Fusion Plate Amplifiers:
- Impedance or sensitivity differences are easy to correct
- Easy configuration of cross-over filters
drivers - DSP controlled
- Sufficient power + wide range of analogue and digital inputs
- Plug and Play + live configurations
- The world’s best class D amplifiers
Hypex Fusion
Hypex offers different product ranges, among others the Fusion series. The plate amplifiers are based on the manufacturer’s Ncore® technology, which combined the stability of an UcD with a better ‘load-independence’, lower distortion and lower output resistance. The Hypex Ncore® amplifiers are widely regarded as the best class D amplifiers in the industry. Anno 2020, they no longer sound ‘too steep’, ‘too direct’ or ‘too neutral’, as often argued. Moreover, they can easily compete with the sound of a traditional class A/B amplifier. The Fusion amplifiers render class d performance available for every studio or home audio design.
Design goals
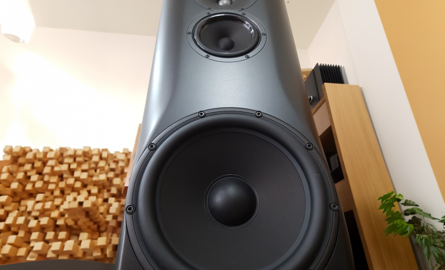
Goal: A 3-way active speaker system in a compact enclosure with excellent performance.
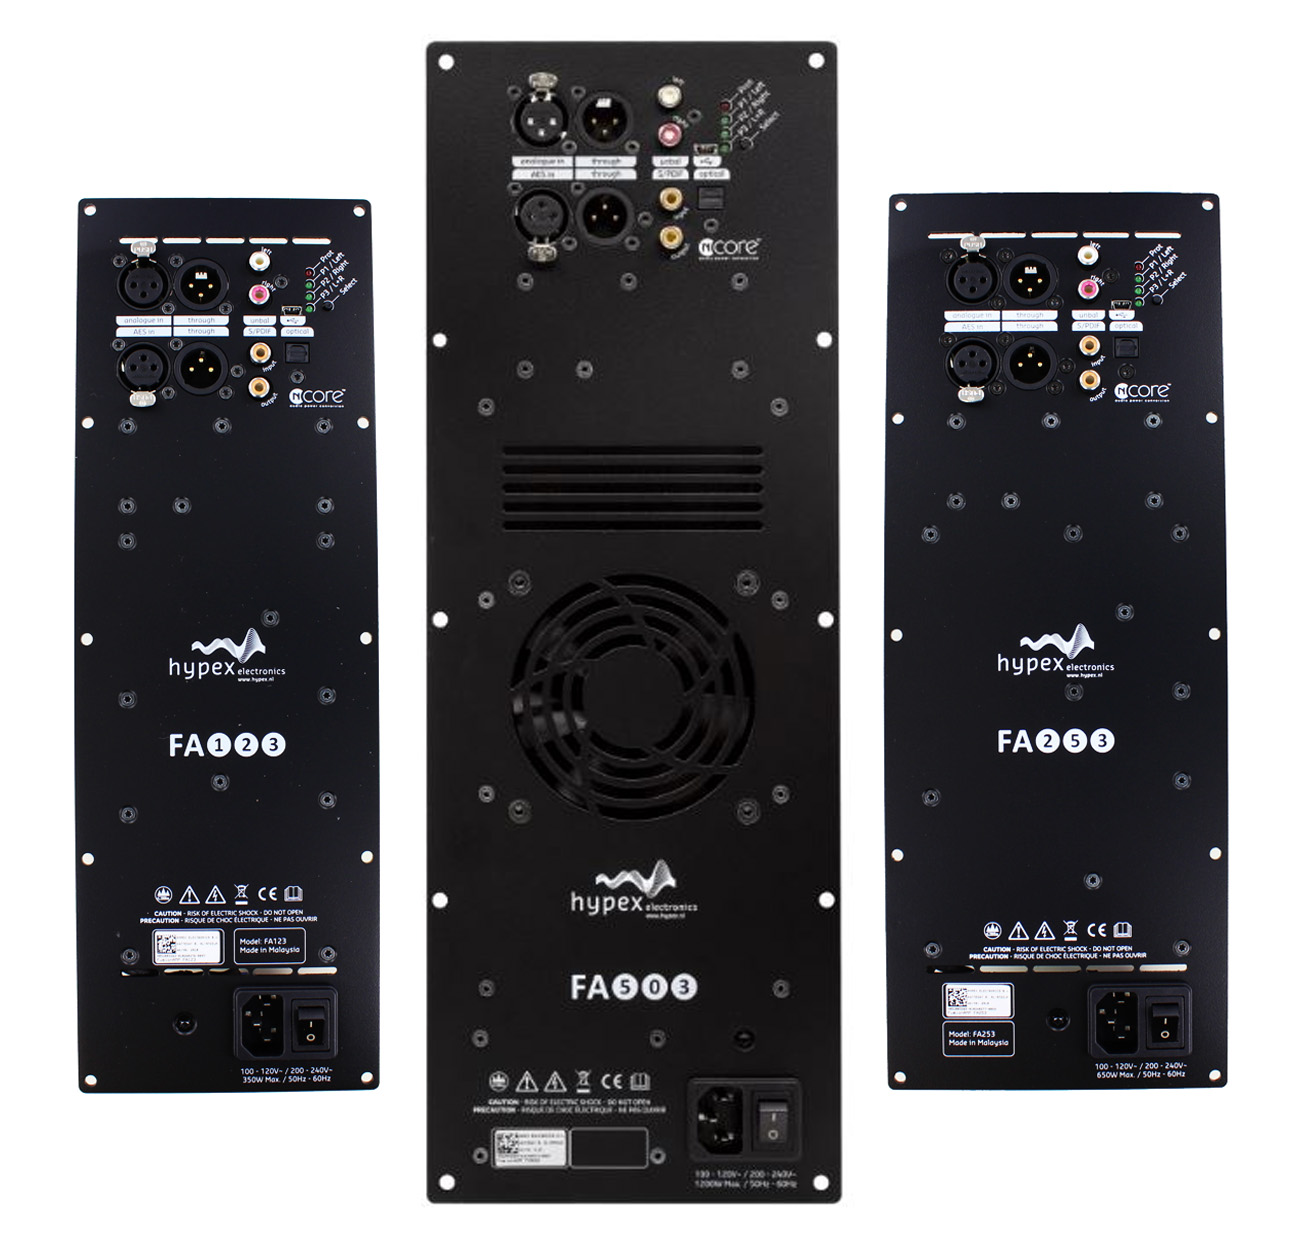
As a base, we will use the most powerful plate amplifier, the Hypex Fusion FA503. However, a (less powerful) 3-way set-up can also be achieved with a Hypex Fusion FA123 or a FA253.
Step 1 - Choosing the Right Hypex 3-Way Plate Amplifier
The Hypex Fusion series plate amplifier can form the basis of a powerful active subwoofer, 2-way (studio or monitor) or a 3-way active speaker design. Hypex’s 3-way plate amplifier is the only one of its kind and it has the advantage of an extra tweeter channel. Avoid a complicated passive crossover and use Digital Sound Processing (DSP) to configure your set-up!
If you are starting from scratch, you can choose between the Hypex FA123, FA253 or the FA503.
You did not choose a driver yet? Make sure you know your design and choose the drivers accordingly. Easier said than done though. How do I determine which drivers are suitable for my design?
Put simply, there are several aspects to take into account when choosing the drivers. If you would like to simplify matters, you can find blueprints for design via online DIY audio forums or somewhere else on the internet. Should you decide to make your own design, then it is essential to know which specifications are important. Impedance(ohms), sensitivity (dB) and power handling (watts) of the drivers are important.
Should you encounter differences in impedance or sensitivity, you can balance them out with the DSP. The high power and broad impedance (2-8 ohms) of the amplifier channels enable you to power the amplifiers irrespective of the differences without losses. Very convenient because this way you can easily change the drivers without being restricted in your options.
Another option is to rebuild passive speakers into active speakers by using the Fusion amplifiers. Make sure that you know the impedance of the drivers and get rid of potential passive filters.
Step 2 - Design and Choice of the Enclosure
Once you have chosen amplifier and drivers you will move on to designing the enclosure.
An important rule to consider is a separate chamber for the plate amplifier which may not touch the driver chamber. Hence, you should either opt for a sealed chamber within the enclosure or alternatively, a ported chamber on the closure. The measurements of the plate amplifier can be found in the user manuals and detailed 3D and 2D sketches can be found below:
You can easily import these files into CAD programs, such as SolidWorks, Autodesk Fusion 360 or Google SketchUp.
The ultimate volume of the enclosure is very important, whether you chose a sealed or ported design. It largely determined the sound quality and we advise you to read up on this. Take advantage of programs that help you with the calculations/design, such as WinISD.
Generally speaking, a sealed enclosure design is easier compared to a ‘bass reflex’ design and gives you more leeway in ‘volume’. It, therefore, simplifies your design while still obtaining a good bass response. If you are aiming for a ported design, the length and size of the port are important. Last but not least, prevent unwanted resonance in the enclosure by inserting baffles diagonally. You can find a lot of information about this on the internet. Should you have questions, feel free to send us an e-mail!
Step 3 – Connectivity Options
The most important steps have been made. The drivers, amplifiers and enclosure design are chosen and now it is time to connect everything. The Hypex Fusion amplifiers have different connectivity options, which are as follows:
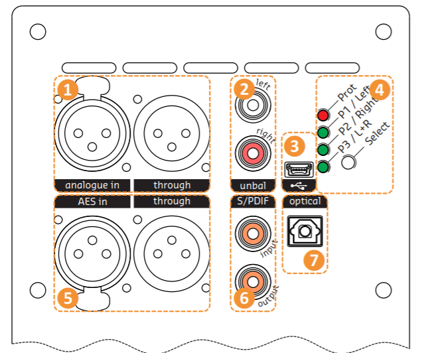
There are two analogue and three digital inputs. The balanced analogue input and the digital AES/EBU and S/PDIF inputs can be looped to a second (third, fourth etc.) amplifier. When configuring the amplifier, the designated input will be chosen. Depending on the domain (digital or analogue), the signal will be processed in different ways.
As the name suggests, the DSP processes the signals digitally. Because a digital stereo signal contains two channels on one carrier, you will configure which ‘part’ of the signal shall be processed by the DSP: left, right or a composite signal (e.g. for a subwoofer). A digital signal will be led to the DSP without being converted. Analogue signals on the contrary have to be converted into digital signals. Because of this ‘extra’ conversion, a digital signal is preferable. The converters (irrespective of their quality) are the DSP module's weakest link, the fewer conversions the better!
Thus: If possible, use a digital signal.
Step 4 - Configuring the DSP Fusion Amplifiers
Now that everything is connected, we are left with a last but nonetheless important step, adjusting the DSP. The Hypex Fusion amplifiers do not have pre-installed filters. Therefore, they have to be configured using Hypex Filter Design (HFD).
The software can be used as soon as the Hypex module is connected to a Windows or Apple device. This manual helps you with configuring the Filter Design according to your preferences. You can choose the volume, channels, import your measurement details, configure the filters and you can work with delays etc. We advise you to take a good look at the document before performing the filter design.
Prior to configuring a filter, we would recommend measuring the driver response. This measurement can be done while they are connected to the amplifier or you can do a separate measurement, where the drivers are not connected. You can use the filter design without this measurement, but we would advise against it.
Side note: measurements give us an idea of what is theoretically possible, but eventually, what we hear is the most important. Especially the basses can sound different, depending on their location in a room. Therefore, the live configurations are very helpful and important!
Further tips and options
- Eventually, measure the active speakers as a complete system, e.g. with a UMIK-1 or Dayton Audio mic
- Live configurations are possible in HFD and they enable you to make quick adaptions
- Make filter with import files using REW or other measurement programs
- Make DSP/Filter presets for ‘close to the wall’ or ‘extra subwoofer’ situations or when your speakers are placed in a corner
- Use the unique ‘Master/Slave’ function of the Fusion amplifier
- Improve your results using van Room EQ
What do you need?
- Two Hypex Fusion Plate amplifiers (2 x Hypex FA123, FA253 or 2 x FA503).
- The right combination of drivers as described in step 1. Do you need help finding the right woofer or tweeter? Let us know and we will help you with choosing.
- A Windows or Apple laptop/pc to run and configure Hypex Filter Design
- Measurement microphones such as the miniDSP UMIK-1 or Dayton Audio EMM-6 to conduct measurements using software such as REW, Fuzz Measure Pro v4. A USB (2.0) type A to mini USB type B cable is not included but is necessary to conduct the measurements.
- Optional hardware such as a microphone stand, cables, speaker wire*, acoustic damping material, speaker cabinet feet, binding posts, gasketing tape
- And of course, the right tools, e.g. a Jasper Tools Model-200 Circle Guide, wood glue, screws, a suitable router….
*Speaker wire does not have to be purchased but will be supplied along with the Hypex Fusion plate amplifiers
Tech support
Posted on thursday 10 march 2022 10:09
Hi Martin,
Hypex Filter Design (HFD) uses a single channel measurement. This requires that the timing of the input (microphone) and output (test signal) to be identical. This is only possible if the in- and output use the same clock for the AD- and DA-conversion. The UMIK-1 has it's own clock and therefor cannot by used as a measurement microphone in HFD directly.
You can use UMIK-1 measurements with HFD through REW (REW uses different techniques for timing ), by importing the REW measurement in HFD.
Show more